| English | Japanese |
|
|
Yesterdays access |
| Page Top | [Lily Diary.】 A diary of life in Mindanao. |
| 26/06/16 | Installing an AS5600 magnetic encoder on a KR-500. |
| 26/06/05 | Grandson Zion's CQ |
| 26/06/04 | Replacing the potentiometer on the KR-500 elevation rotator |
| 26/06/03 | Making a Repeater Controller Pert4 |
| 26/06/01 | Weather Monitor software |
| 26/05/31 | Weather Monitor |
| 26/05/21 | JTDX Auto Run BUGFIX |
| 26/05/17 | Repair of satellite antenna system |
| 26/05/13 | Repair of Alinco DR130 |
| 26/05/07 | Making a Repeater Controller Pert3 |
| 26/05/03 | Indonesian satellite friend YC8RPK |
| 26/04/26 | DXCC200 achieved |
| 26/04/23 | Communication via ISS voice repeater |
| 26/04/20 | WSJT-X Auto Run Ver0.1.5 |
| 26/04/19 | Got an Alinco DR-130 |
| 26/04/15 | Clublog Charts |
| 26/04/10 | Regarding POC transceivers |
| 26/04/08 | Using KENWOOD AT-300 with YAESU radio |
| 26/03/17 | How to establish a radio club in the Philippines |
| 26/03/10 | KENWOOD AT-300 with YAESU radio |
| 26/02/27 | Philippine NTC Amateur Radio License Examination Question Bank |
| 26/02/20 | Package received from JK1SNS |
| 26/02/18 | Temporary License Renewal |
| 26/02/14 | Satellite Tracking Software SatTrack |
| 26/02/05 | Making a Repeater Controller Pert2 |
| 26/02/02 | CQ on satellite IO-86 |
| 26/01/27 | Shack & Repeater Controller |
| 26/01/16 | Making a Repeater Controller |
| 26/01/16 | Making aRotator Interface PCB |
| 26/01/10 | Satellite antenna installation |
| 26/01/08 | WSJT-X Remote Operation |
| 26/01/07 | JTDX Remote Operation |
| 26/01/04 | log_reciver_Ver2.6.6 |
| 26/01/04 | Tailscale VPN software for JTDX_Remote |
| Online Multiple Choice Reviewers to the Phil Amateur Radio Examination by 4F3EW A joint project by JI1FGX/DU9 and DV9JRD |
| Replacing the potentiometer on the KR-500 elevation rotator (2026/06/04) | ||||||||||||||||||||||||||||||||||||||||||||||||||||
|---|---|---|---|---|---|---|---|---|---|---|---|---|---|---|---|---|---|---|---|---|---|---|---|---|---|---|---|---|---|---|---|---|---|---|---|---|---|---|---|---|---|---|---|---|---|---|---|---|---|---|---|---|
| The potentiometer for adjusting the elevation angle on the KR-500 became unstable, so I had no choice but to lower the antenna. I replaced the potentiometer with a new one last October, but the quality of the winding was poor, causing the resistance value to fluctuate significantly. After consulting with ChatGPT, I ordered an AS5600 magnetic encoder angle sensor and an ESP32-C3 SuperMini CPU module from Shopee. We have begun developing our own software. However, ChatGPT warned us that there are very strict requirements for magnet alignment. The gap between the magnet and the sensor must be within 1-3 mm, and the magnet must not be off-center. Another problem arose. The KR-500's built-in 11V transformer does not have enough capacity to power the meter itself. When I connected the ESP32-C3, the voltage dropped and the system became unstable. Therefore, I decided to use the 26V motor power supply as is and step it down to 5V using an LM2596 DC-DC converter. For testing purposes, we attempted to generate 5V from a 26V line using a conventional linear regulator, but it was noted that the power loss and heat generation were too high. After that, a wiring error caused a 470μF 16V electrolytic capacitor in the KR-500 circuit to explode violently. Fortunately, since it was a circuit that we had decided not to use, no important components were damaged. It was the first time I'd ever witnessed an electrolytic capacitor explode. There was a tremendous explosion, smoke rose, and a cotton-like substance was scattered all over the place! |
||||||||||||||||||||||||||||||||||||||||||||||||||||
| Rosmar is taking down his antenna for repairs to the elevation rotator. I gave him 500 pesos as payment for his work. 500 pesos is equivalent to the minimum daily wage in Oamiz. 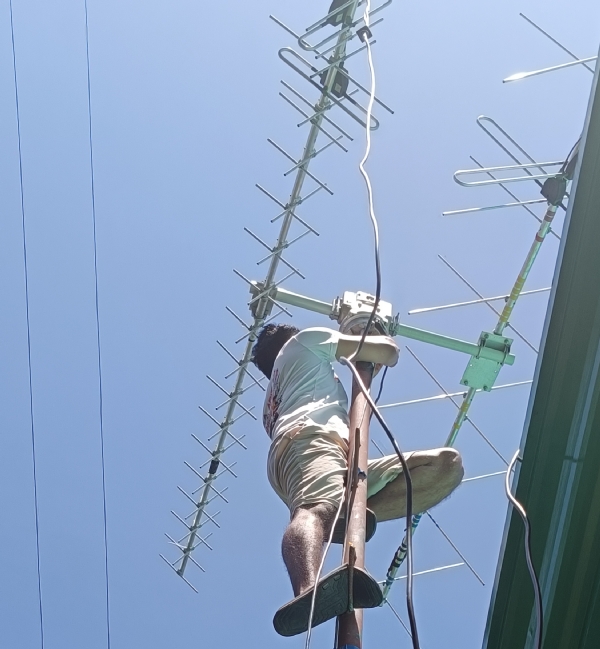 |
||||||||||||||||||||||||||||||||||||||||||||||||||||
Upon disassembling the potentiometer, it was discovered that the windings in the low-angle section were irregular, causing the reading to jump.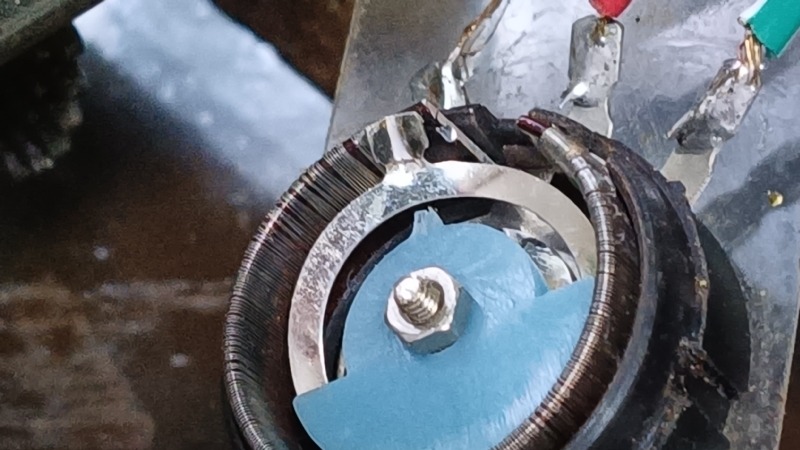 |
||||||||||||||||||||||||||||||||||||||||||||||||||||
| I consulted with ChatGPT. The AS5600 magnetic encoder angle sensor and the ESP32-C3 CPU module can be used as a substitute for a potentiometer. 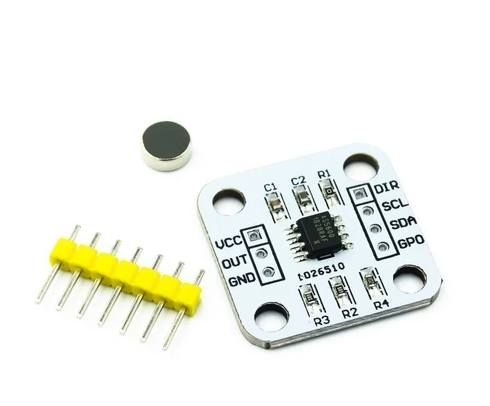 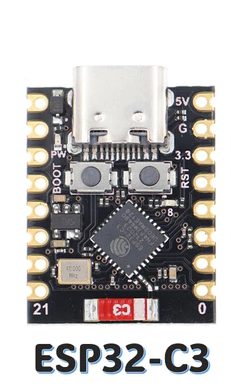 |
||||||||||||||||||||||||||||||||||||||||||||||||||||
| A magnet attached to the center of the potentiometer's axis. The distance between the magnet and the AS5600 sensor is between 1mm and 3mm, so precise adjustment is required. I cut a PVC water pipe to make a spacer, but the gap was still too wide, so I made a new spacer that was 2.5mm shorter. 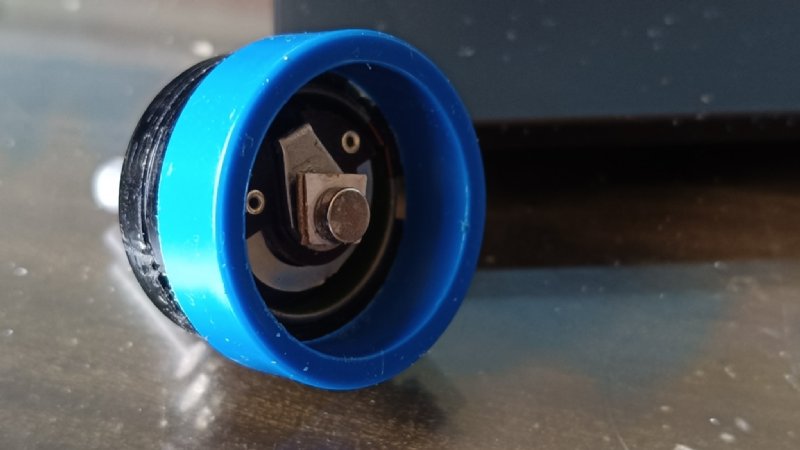 |
||||||||||||||||||||||||||||||||||||||||||||||||||||
Click to view a larger version of the circuit diagram. |
||||||||||||||||||||||||||||||||||||||||||||||||||||
| A pattern written in KiCAD. Order from JLCPCB for a minimum of 5 pieces for $4 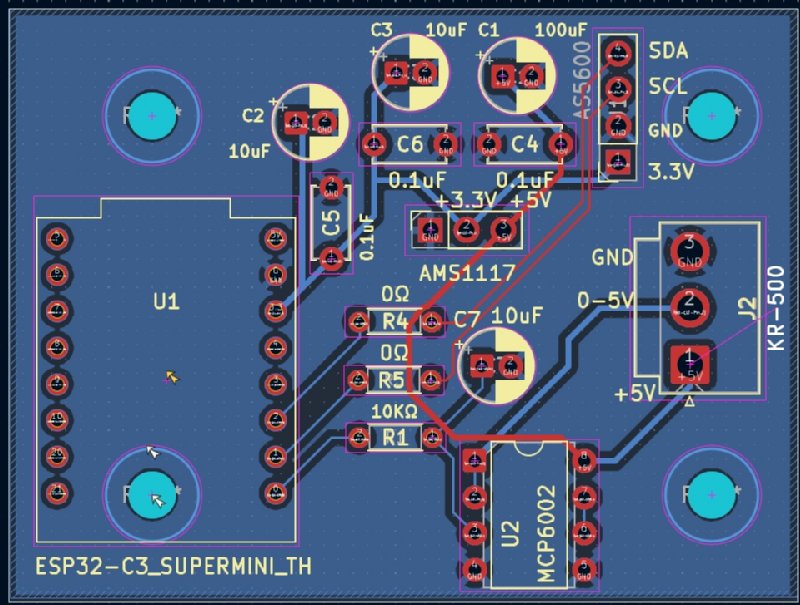 |
||||||||||||||||||||||||||||||||||||||||||||||||||||
| Initially, I intended to supply 5V to the circuit board from terminal 1. However, connecting the ESP32-C3 SuperMini causes a voltage drop, causing the CPU's operating voltage to fall below 3.3V. I suspected the circuit circled in red was faulty, so I tried a 7805 three-terminal regulator, but the problem persisted. Upon investigation, it was discovered that the 11V output of the transformer only has enough current capacity to drive the meter. In the end, I ignored the area enclosed in the red box and supplied 5V to terminal 1. The PWM output of the ESP32-C3 is passed through a CR filter to an op-amp, and that output is then connected to terminal 2 to display the meter. 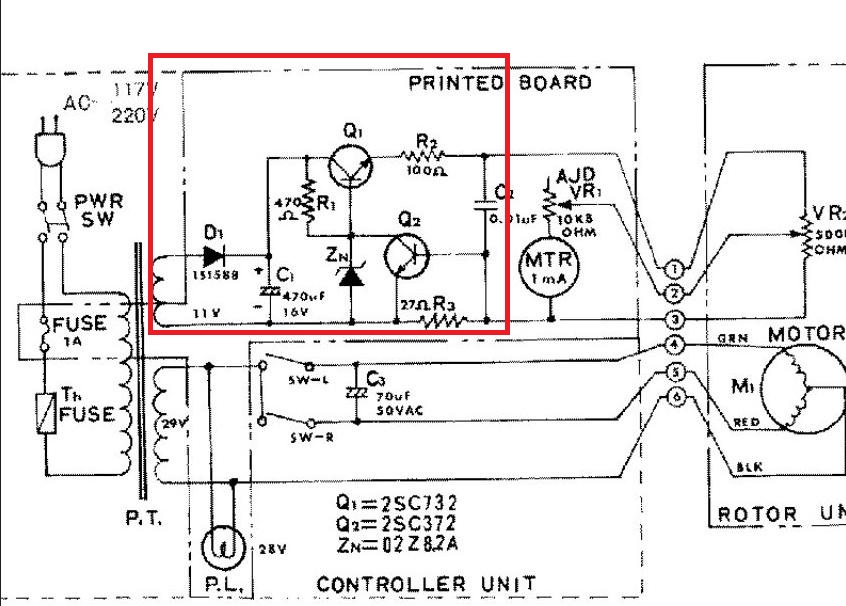 |
||||||||||||||||||||||||||||||||||||||||||||||||||||
| Therefore, I decided to take power from the 28V tap used for motor drive and step it down to 5V. Is there any risk of the ESP32-C3 malfunctioning due to noise associated with the motor turning on and off? I checked with ChatGPT multiple times, and they said that adding a capacitor of about 1000uF would be fine. 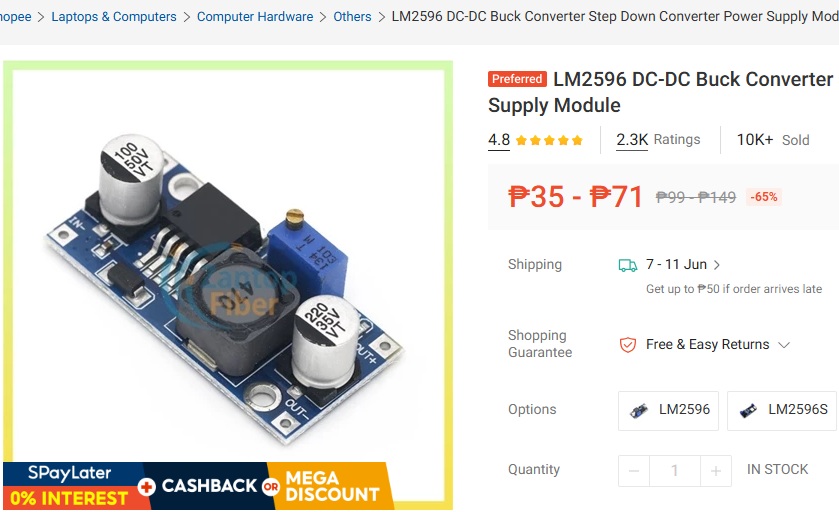 |
||||||||||||||||||||||||||||||||||||||||||||||||||||
|
||||||||||||||||||||||||||||||||||||||||||||||||||||
| June 3, 2026. June 5, 2026. | ||||||||||||||||||||||||||||||||||||||||||||||||||||